 EN
EN
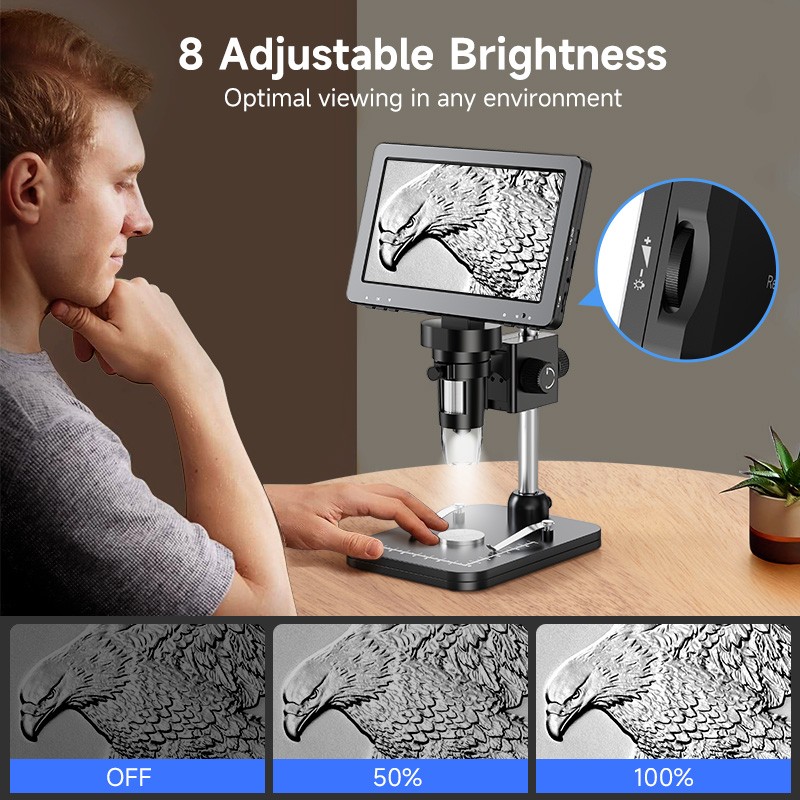
Using a coin microscope effectively transforms the way collectors examine and authenticate their precious coins. This specialized magnification tool reveals intricate details, surface imperfections, and authentication markers that are invisible to the naked eye, making it an indispensable instrument for serious numismatists. Understanding the proper techniques for operating a coin microscope ensures accurate grading, authentication, and preservation of valuable coin collections.
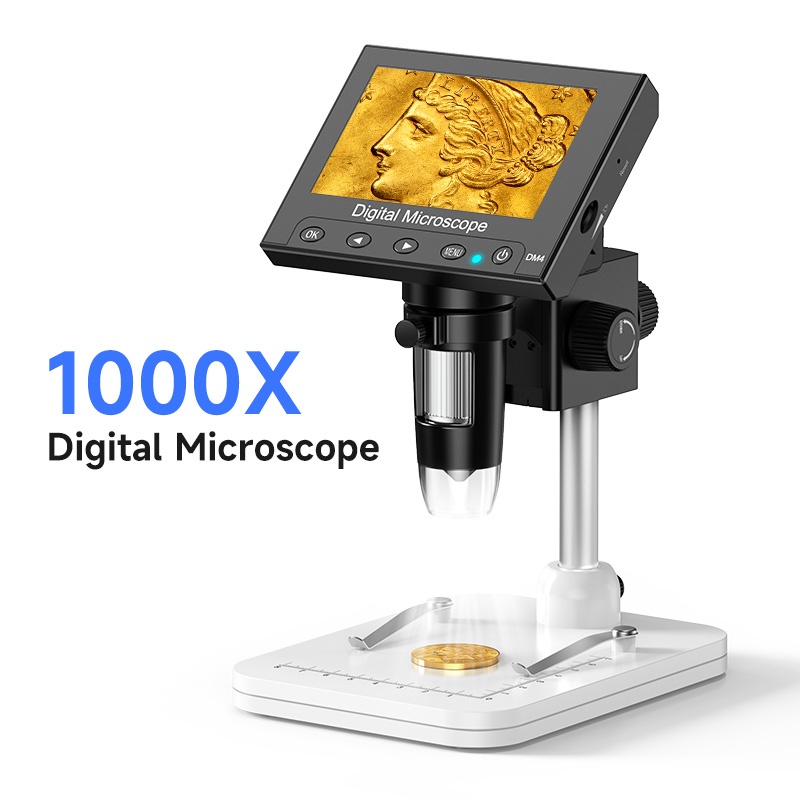
Modern coin microscope technology offers collectors unprecedented clarity and precision when examining their specimens. Digital displays, adjustable LED lighting, and variable magnification settings provide the control needed to identify mint marks, detect counterfeits, and assess coin condition with professional-level accuracy. Learning the fundamental operating procedures and best practices ensures collectors maximize their investment in this essential numismatic equipment.
Setting Up Your Coin Microscope Workspace
Establishing Proper Lighting Conditions
Optimal lighting configuration is crucial for effective coin microscope operation. Position your coin microscope in an area with minimal ambient light to reduce glare and shadows that can obscure important details. The built-in LED lighting system should provide the primary illumination, allowing you to control intensity and angle precisely. Adjust the LED brightness gradually while examining your coin to find the sweet spot that reveals surface textures without creating harsh reflections.
Consider the direction of light when positioning coins under your coin microscope. Side lighting often reveals surface imperfections and wear patterns more effectively than direct overhead illumination. Many collectors find that slightly angled lighting brings out the relief details on coins while maintaining clear visibility of the surface condition. Experiment with different lighting angles to understand how they affect the visibility of specific coin features.
Preparing the Examination Surface
The surface beneath your coin microscope requires careful preparation to ensure accurate examination results. Use a clean, soft cloth or specialized coin mat to create a stable, non-abrasive platform for your coins. Avoid hard surfaces that might scratch or damage delicate coin surfaces during handling. The examination surface should be large enough to accommodate coins comfortably without risk of them sliding off during manipulation.
Maintain a dust-free environment around your coin microscope workspace. Even small particles can interfere with detailed examination and potentially scratch coin surfaces. Regularly clean the examination area and consider using a dust cover when the coin microscope is not in use. This preventive approach protects both your equipment and your valuable coins from environmental contaminants.
Operating Techniques for Optimal Results
Magnification Selection and Adjustment
Selecting appropriate magnification levels is fundamental to effective coin microscope use. Start with lower magnification settings to locate areas of interest, then gradually increase magnification for detailed examination. Most coin microscope models offer variable magnification ranging from 10x to 300x or higher, providing flexibility for different examination needs.
Understanding when to use specific magnification levels enhances examination efficiency. Low magnification works well for overall condition assessment and identifying major features, while medium magnification reveals mint marks and moderate wear patterns. High magnification becomes essential for detecting subtle authentication features, microscopic damage, and fine surface details that determine precise grading.
Focus Control and Image Clarity
Achieving sharp focus across the entire coin surface requires systematic adjustment of your coin microscope focus controls. Begin by positioning the coin flat under the lens and adjusting the focus wheel slowly until the central area appears crisp and clear. Since coins have three-dimensional surfaces, you may need to refocus when examining different areas, especially on coins with significant relief.
Digital coin microscope models often feature auto-focus capabilities, but manual control typically provides better results for numismatic applications. Practice smooth focus adjustments to avoid jarring movements that might cause you to lose your examination position. Develop muscle memory for quick focus corrections as you move across different areas of the coin surface.
Coin Handling and Positioning Methods
Safe Coin Manipulation Techniques
Proper coin handling prevents damage while ensuring thorough examination under your coin microscope. Always handle coins by their edges, avoiding contact with the obverse and reverse surfaces that contain the design elements. Use cotton gloves or finger cots when handling valuable specimens to prevent oil transfer and potential corrosion. Position coins gently on the examination surface without sliding or dragging them across any hard surfaces.
Develop a systematic approach to coin positioning that allows complete examination without excessive handling. Plan your examination sequence to minimize coin movement while ensuring you can observe all critical areas through your coin microscope. Consider using soft-tipped tweezers for positioning extremely valuable or delicate coins, but ensure the tips are clean and smooth to avoid scratching.
Systematic Examination Patterns
Establishing consistent examination patterns ensures comprehensive coin analysis through your coin microscope. Start with a complete overview at low magnification to identify areas requiring detailed inspection. Progress systematically around the coin's perimeter, examining edge details, then work inward toward the center in a spiral pattern. This methodical approach prevents missing important details and provides consistent documentation of coin condition.
Document your findings as you examine each section under the coin microscope. Note specific areas of wear, damage, or unusual features along with their locations on the coin. This systematic documentation proves valuable for grading decisions, authentication purposes, and future condition monitoring. Many collectors develop personalized notation systems that work effectively with their coin microscope examination routine.
Advanced Examination Applications
Authentication and Counterfeit Detection
Your coin microscope serves as a powerful tool for detecting counterfeit coins and authenticating genuine specimens. Examine surface texture carefully, as counterfeit coins often display casting marks, improper metal grain structure, or artificial aging that becomes apparent under magnification. Genuine coins typically show specific manufacturing characteristics that counterfeiters struggle to replicate accurately.
Focus your coin microscope on known authentication points such as mint marks, designer initials, and specific design elements that counterfeiters commonly execute poorly. Compare suspicious areas with reference images of authenticated specimens when possible. The high resolution capabilities of modern coin microscope technology reveal subtle differences in strike quality, metal composition effects, and surface finishing that indicate authenticity.
Grading and Condition Assessment
Professional-quality coin grading requires the detailed examination capabilities that only a coin microscope can provide. Assess wear patterns systematically, noting the extent of friction on high points and the preservation of design details in protected areas. The magnification reveals subtle differences between adjacent grading levels that determine significant value variations in collectible coins.
Use your coin microscope to identify specific types of damage that affect grading, including hairlines, bag marks, corrosion spots, and cleaning damage. Each type of imperfection has characteristic appearances under magnification that experienced collectors learn to recognize. Document these findings with precise descriptions that support your grading conclusions and provide valuable information for potential buyers or insurance purposes.
Maintenance and Care Procedures
Equipment Cleaning and Storage
Regular maintenance ensures your coin microscope continues providing accurate, clear images for coin examination. Clean the lens surfaces gently using appropriate lens cleaning solutions and microfiber cloths designed for optical equipment. Avoid using household cleaners or rough materials that might scratch or damage the delicate optical components of your coin microscope.
Store your coin microscope in a protective case or covered area when not in use to prevent dust accumulation and accidental damage. Check the LED lighting system periodically and replace bulbs as needed to maintain consistent illumination quality. Keep spare bulbs and cleaning supplies readily available to minimize downtime when maintenance becomes necessary.
Calibration and Performance Monitoring
Monitor your coin microscope performance regularly to ensure accurate examination results. Test magnification accuracy periodically using reference standards or objects of known dimensions. Verify that the focus mechanism operates smoothly across the entire range and that the lighting system provides even illumination without hot spots or dark areas.
Address performance issues promptly to prevent them from affecting your coin examination accuracy. Many coin microscope problems result from dust accumulation, loose connections, or misaligned components that respond well to basic maintenance procedures. Keep documentation of your equipment's performance history to identify patterns that might indicate developing problems requiring professional service.
FAQ
What magnification level should beginners use when starting with a coin microscope?
Beginners should start with 20x to 50x magnification when first using a coin microscope. This range provides sufficient detail to see important features like mint marks and major wear patterns without being overwhelming. As you become more comfortable with the equipment and develop your examination skills, gradually increase to higher magnification levels for more detailed analysis.
How do I prevent my coins from getting damaged while using a coin microscope?
Always handle coins by their edges and use cotton gloves when examining valuable specimens under a coin microscope. Place coins on soft, clean surfaces and avoid sliding them across hard materials. Move the microscope rather than the coin when possible, and ensure your workspace is free from dust and debris that could scratch coin surfaces.
Can a coin microscope help me determine if my coins are worth professional grading?
Yes, a coin microscope enables you to assess coin condition accurately enough to make informed grading decisions. Look for minimal wear on design elements, absence of significant damage, and original luster preservation. Coins that appear to grade MS-65 or higher under microscope examination typically justify the cost of professional grading services.
What should I look for when examining coins under a coin microscope for authentication?
When authenticating coins with a coin microscope, examine surface texture for unnatural smoothness or casting marks that indicate counterfeits. Check mint marks for proper placement and formation, verify design element sharpness, and look for appropriate metal grain structure. Genuine coins display specific manufacturing characteristics that counterfeiters find difficult to replicate accurately.
Table of Contents
- Setting Up Your Coin Microscope Workspace
- Operating Techniques for Optimal Results
- Coin Handling and Positioning Methods
- Advanced Examination Applications
- Maintenance and Care Procedures
-
FAQ
- What magnification level should beginners use when starting with a coin microscope?
- How do I prevent my coins from getting damaged while using a coin microscope?
- Can a coin microscope help me determine if my coins are worth professional grading?
- What should I look for when examining coins under a coin microscope for authentication?